
Viral Academy
Welcome,
NAVIGATION
Module
5
.
Lesson
6
Exporting & Uploading for Best Quality
Getting your Short to look as good as possible on YouTube comes down to two things: how you export it and how you upload it.
To avoid uploading unnecessarily large files, we'll be using HandBrake to compress our finished video while keeping the quality intact. YouTube recompresses every video you upload, so if your file is already optimised before uploading, less quality is lost in the process.
What You'll Need
A finished Premiere Pro project ready to export
HandBrake (free download at handbrake.fr)
—
Step 1. Export from Premiere Pro
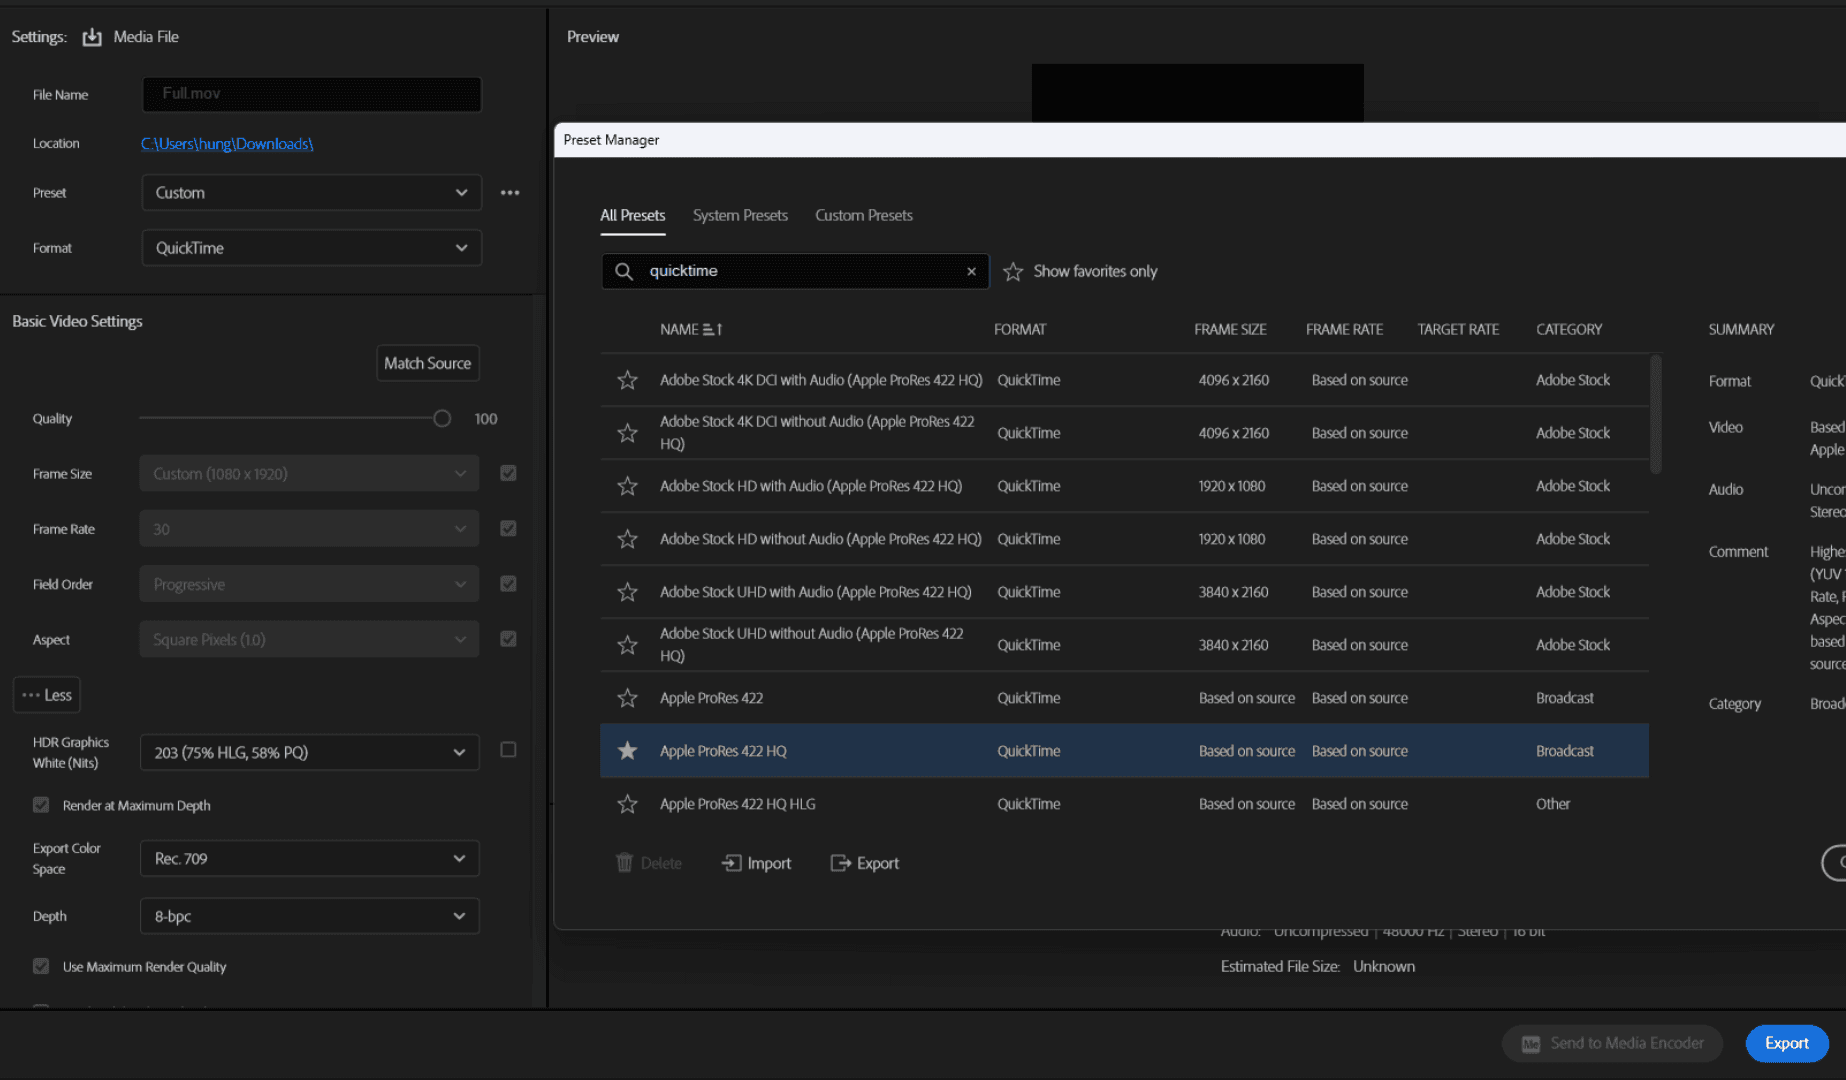
In Premiere Pro go to File → Export → Media. Use these settings:
Format: Quicktime
Preset: More presets → Apple ProRes 422 HQ (Quicktime)
Resolution: 1080 x 1920 (vertical)
Check Render at Maximum Depth & Use Maximum Render Quality
Export this onto your computer but don't upload it directly to YouTube yet.
—
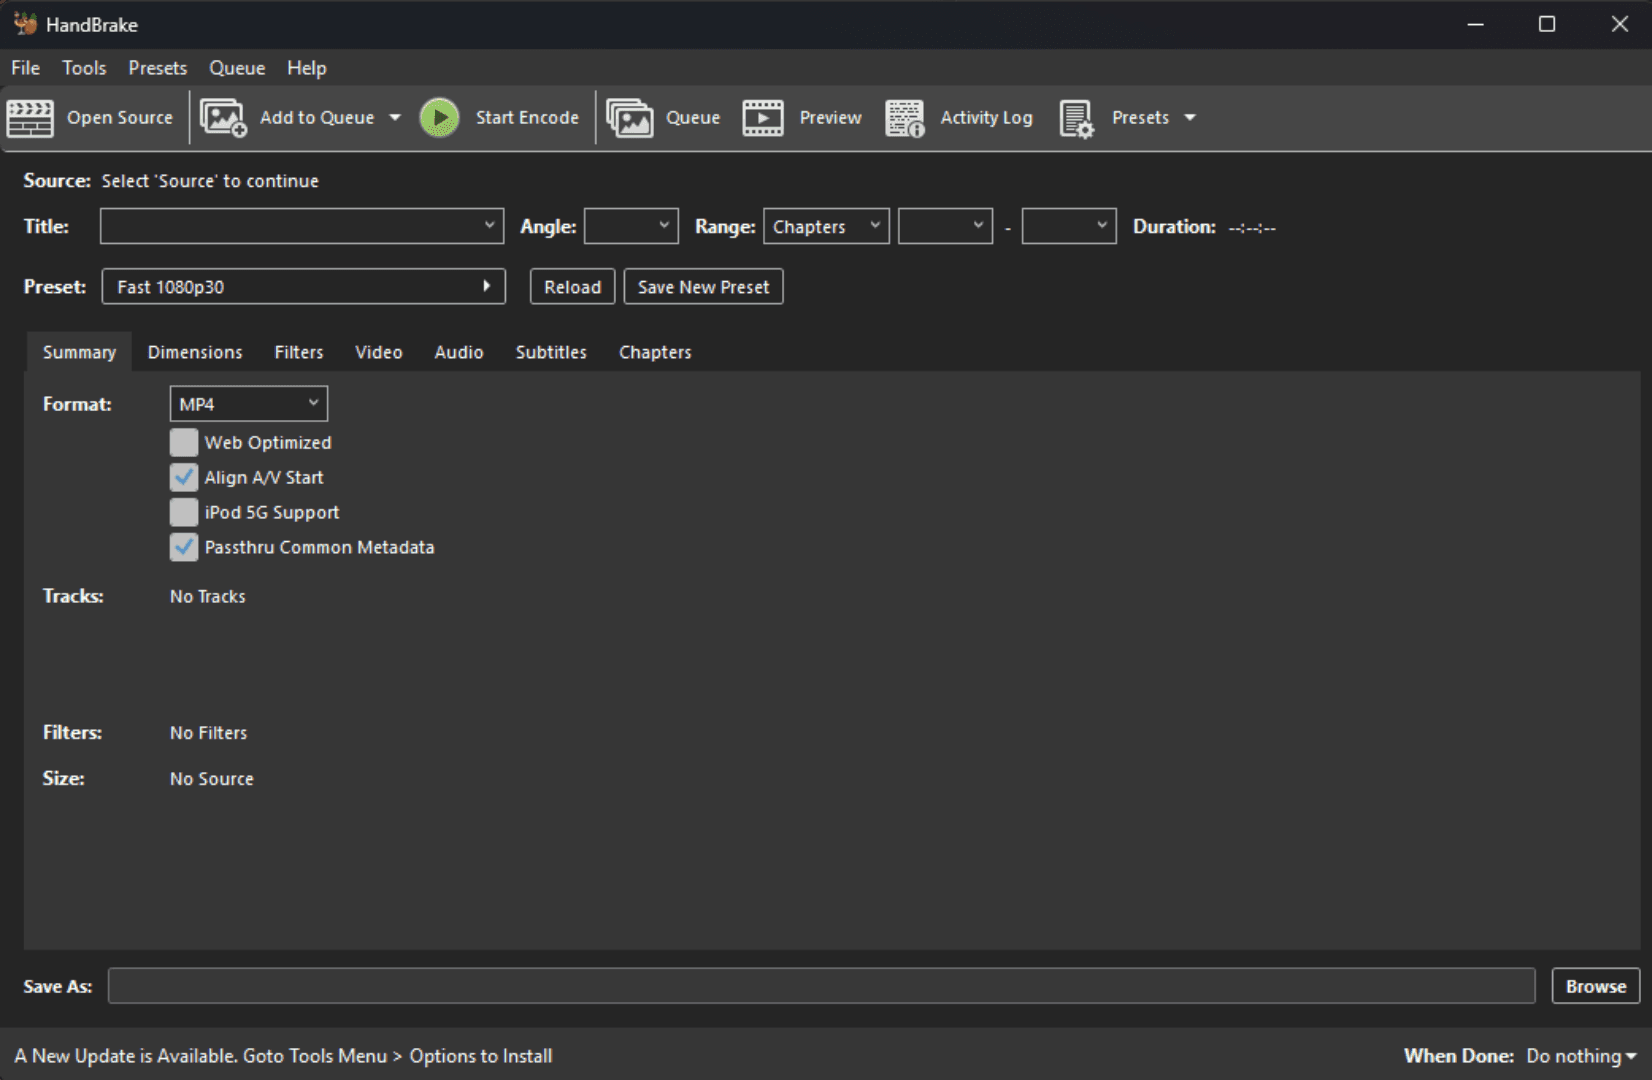
Step 2. Run it through HandBrake
HandBrake compresses your file further without visible quality loss, resulting in a smaller file that uploads faster and gets better treatment from YouTube's compression algorithm.
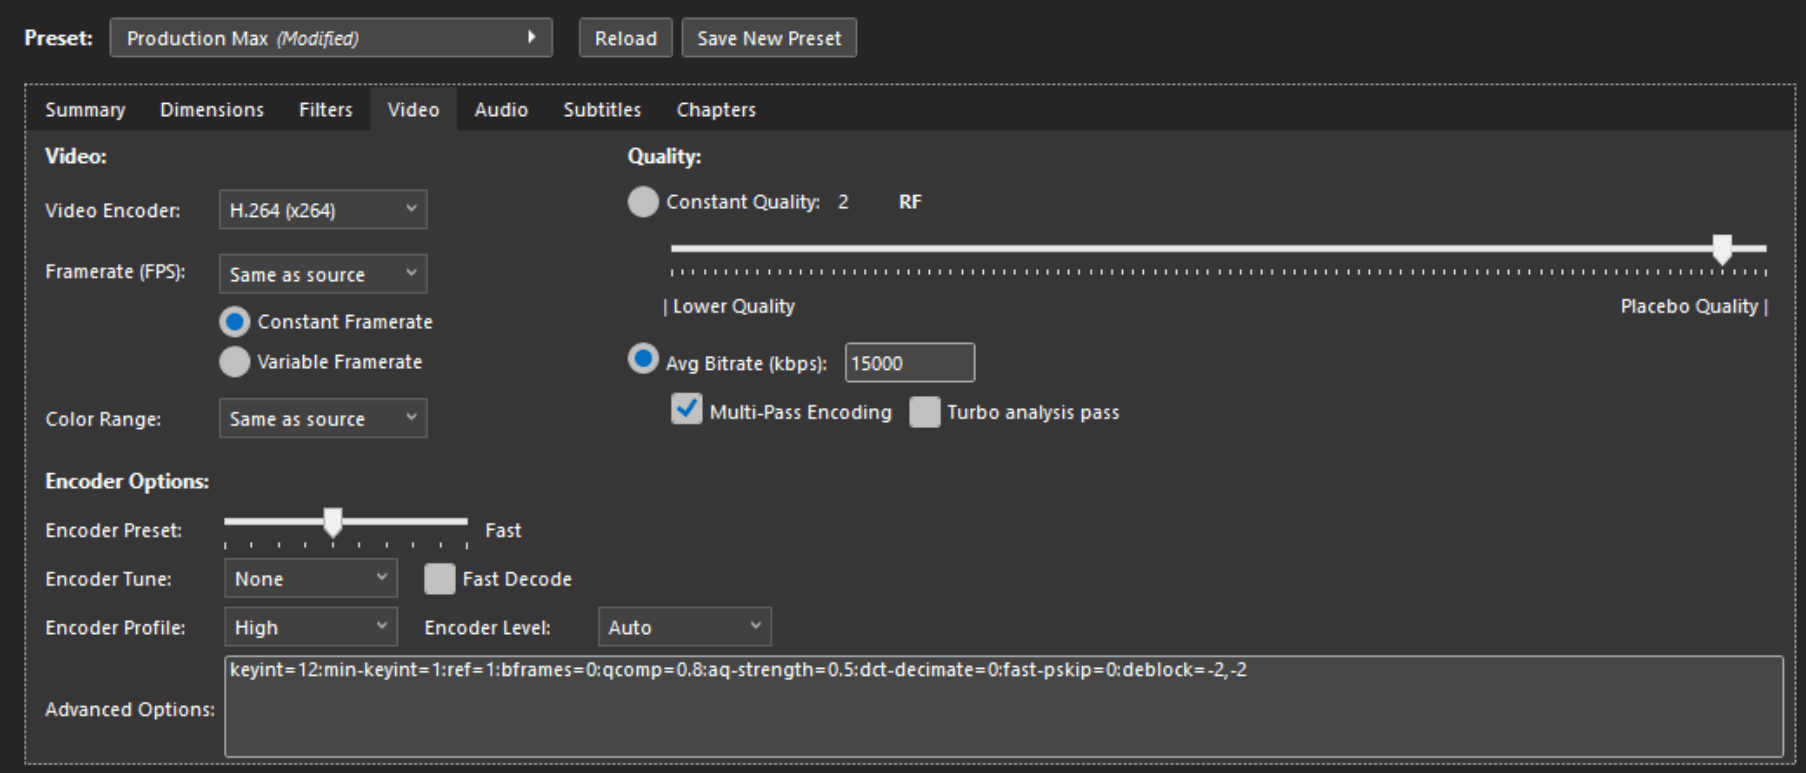
Open HandBrake and drag in your exported file. Use these settings:
Preset: Production Max
Format: MP4
Avg Bitrate (kbps): 15000
Audio: AAC, 320 Bitrate
Click Start Encode.
—
Step 3. Upload to YouTube
Upload the HandBrake output file directly to YouTube. Done!
—
Why HandBrake?
YouTube recompresses every video you upload. If you upload a bloated file, YouTube's compression hits it harder and you lose more quality. A HandBrake-compressed file is already in a format YouTube handles well, so less quality is lost in the process.